A torn-paper window is one of those small techniques that makes a handmade page feel discovered rather than decorated. It creates depth, frames a quiet detail, and uses only two pieces of paper.

Choose the image beneath the opening
Begin with a small botanical, photograph, handwriting fragment, or patterned scrap. Choose something that still reads when only part of it is visible. A simple stem or one strong shape works better than a busy collage.
Mark a smaller opening than you think
Place the top paper over the hidden image and make a light pencil dot near each corner of the area you want to reveal. Keep at least two finger-widths of paper around the opening so the page stays strong.
Start the tear from the center
Pinch the paper gently in the middle and make a tiny break. Tear outward toward one pencil mark, then turn the page and repeat. Working from the center gives you more control than cutting in from an edge.
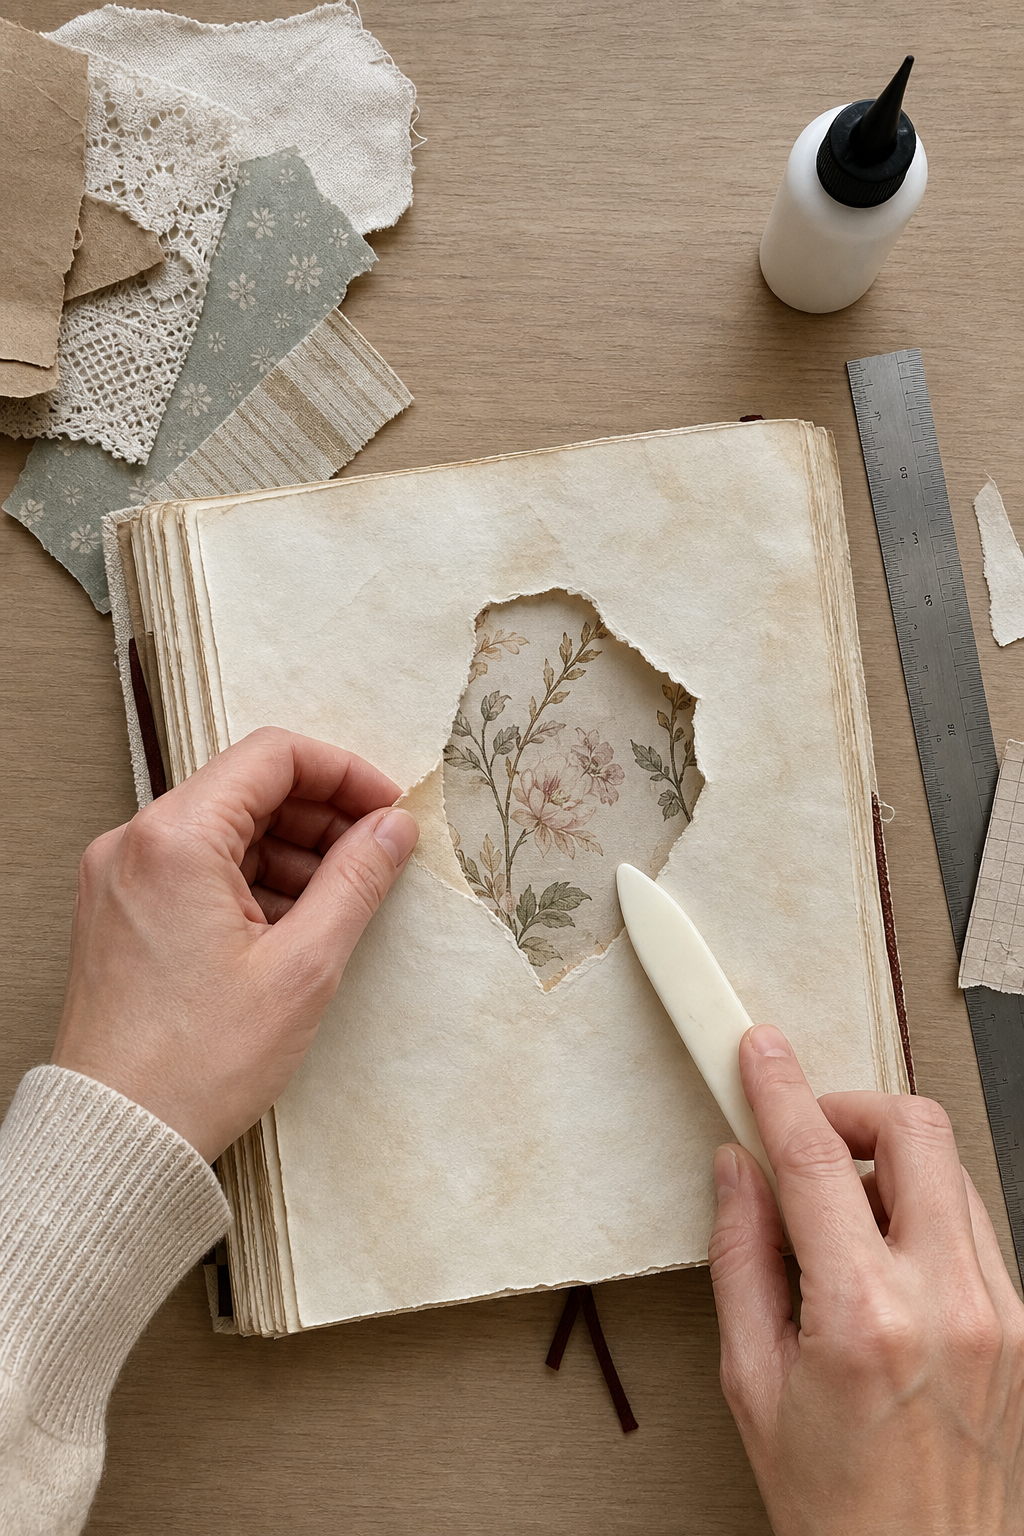
Turn the fibers toward the viewer
For a soft, dimensional edge, tear with the top paper facing you so its pale inner fibers remain visible. If one side becomes too straight, remove a tiny crescent rather than trying to perfect the whole opening. Irregularity is what makes the window feel handmade.
Test before gluing
Move the hidden image beneath the opening until the most interesting detail appears off-center. Photograph the placement, lift the top sheet, and glue the image first. Apply adhesive around the outer edge of the top sheet and around—but not directly on—the torn opening.
Add one functional detail
A short stitched line, fabric tab, date, or pencil note can connect the window to the rest of the page. Keep it small. The revealed image is already the focal point, so extra embellishment should guide the eye rather than compete.
If the page needs more interaction, glue only three sides of the hidden image and use it as a pocket. A small note can slide behind it while the visible portion remains framed.
Image note: Some visuals in this article were created with AI and curated by Sentimentalica.